audio cassette

Recording Audio - bit rate and sampling

Overview When recording audio, vinyl, audio cassettes, or reel-to-reel, we should be recording in the highest possible rate;  24bit and 96KHz.

More Info

Spoke to John Sawa ( www.johnsawa.com ), an audio editor.  Asked what the different is between 16bit and 24bit and 44KHz and 96KHz.  As he explained, if you have the higher rates, you have more room to work with if you are trying for fix the audio.  If the audio is really good, it will not make much difference.

Test

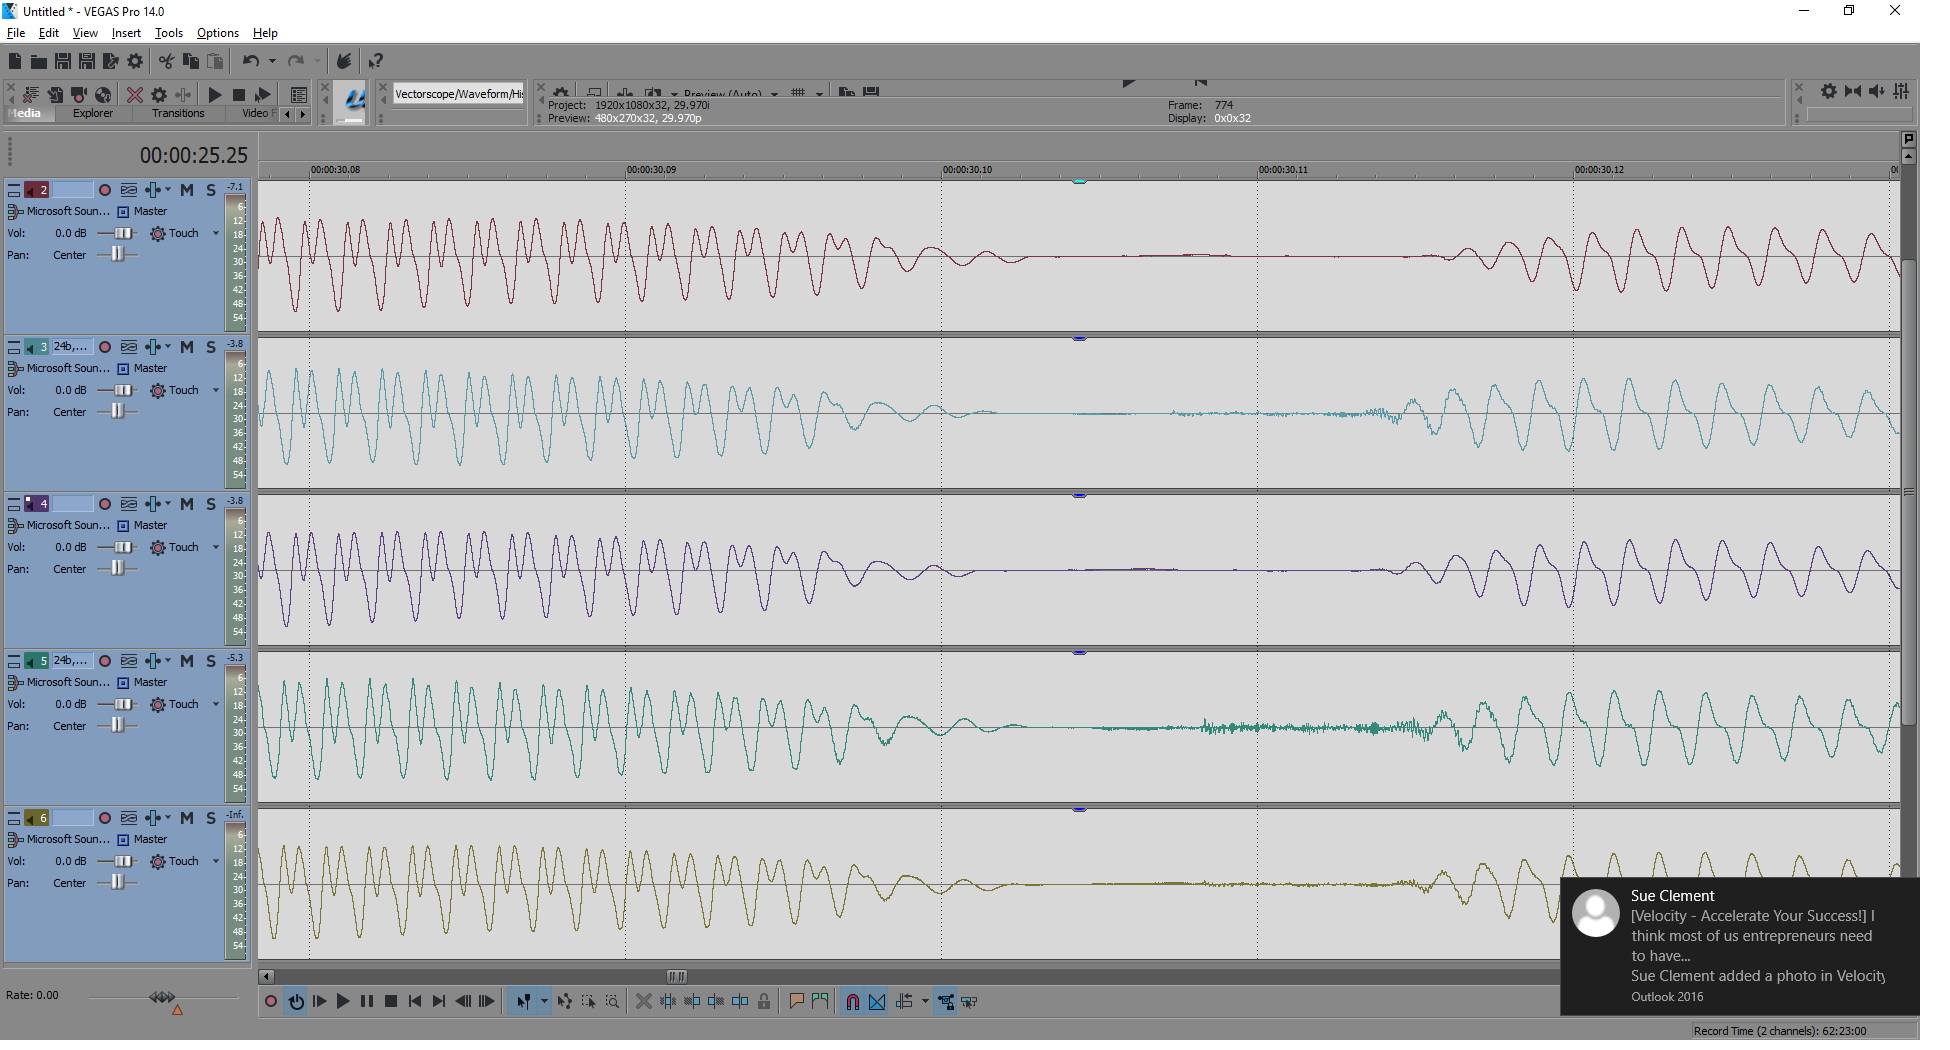
Ran a test of a BC Library audio book and found the different options made very little difference.  Ran combos of 16bit and 48KHz and 24bit and 96KHz.  Also, with the 24bit option I tested Dolby C on and off.  The conclusion was that the 16bit and 24bit combos made no difference.  The tape quality was good so that may have impacted the results.  Dolby C off made the low noise bits in the recording a little more defined and the vocal bits made no difference.  Here's a Vegas screen of the wave files (1st line 16bit,48KHz with Dolby C, 2nd pair 24bit, 96KHz, with Dolby C, and 3rd pair 24bit, 96KHz, no Dolby):

Compare wav files with different sampling and bits and dolby

How

When you set up Vegas, make sure the properties of the project have the audio set to 24bits and 96KHz.

Micro Cassette Transfer To Digital

Overview A micro cassette is a small audio cassette that was commonly used in answering machines, dictation machines, and small format audio recorders.

Equipment

We have a Sony Micro Cassette-corder M-601.  The unit is capable of playing in 2 speeds, 1.2 or 2.4 cm/sec (or 15/16 or 15/32 ips).  The recording is 2 track, 1 channel, monoaural.

DO NOT TOUCH THE PAUSE BUTTON - the pause button gets stuck and will not come back up without taking the unit apart.

Set Up

The M-601 is packed in it's original box on the shelf.

  1. Unpack the unit.
  2. Check the m-601 batteries, push PLAY to activate the battery indicator.
  3. Plug the stereo (or mono/either or) phone cable (M-M) into the earphone jack on the side of the unit.
  4. Plug the other end of the mono/stereo-phono cable into the Echo patch box with a MONO jack only - ISSUES ARISE when this is inadvertently swapped with a STEREO JACK.  Use analogue input 7 ON THE ECHO (LAYLA).... the same input that was used for the Super8 audio input whence we digitized Super8 audio separately. This set-up can then be tested by simply pulling the stereo/mono plug from the Micro deck.
  5. On MUSIC open the Micro-Mono-Anolog7 audio veg file and setup the folder to record into.
  6. Test the tape, ie. this can be done by simply pulling the stereo plug from the machine.
  7. Rewind tape and record.